
arancia
Arancia is an Italian preserve made with the skin of oranges. It is a slow process that requires patience and dedication but it’s worth the effort and induction has made making it so much easier because you don’t have to constantly watch it.
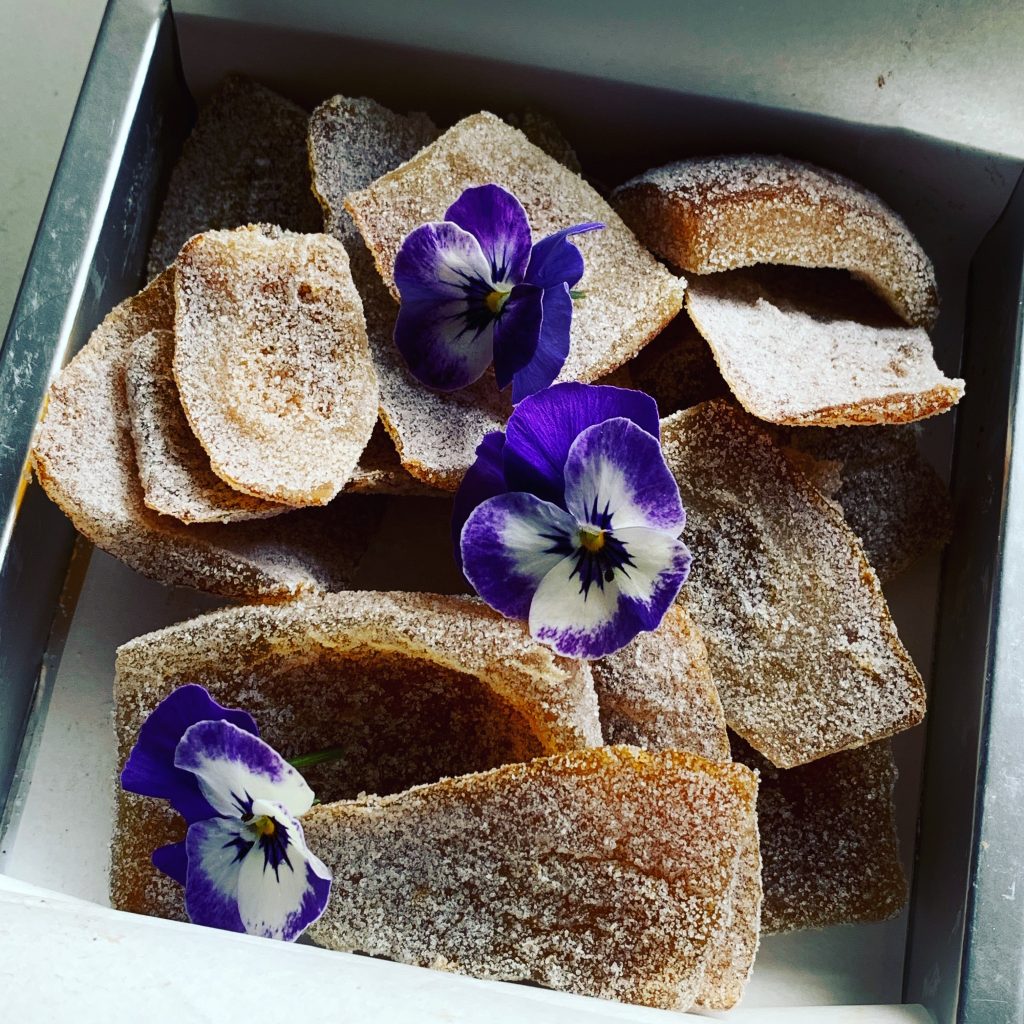
Drained, lightly dehydrated and dusted with caster sugar it keeps indefinitely and does not require refrigeration. Chopped up in sweet buns and puddings it is delicious but, dipped in chocolate it makes divine petit fours.
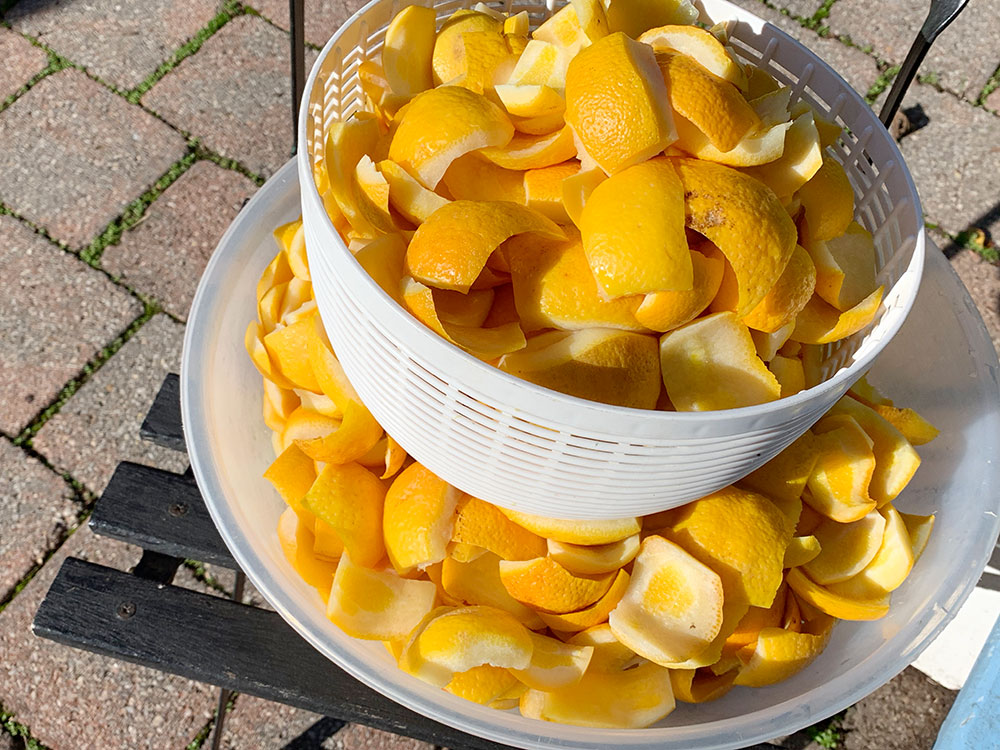
This year’s batch is the result of a friend dumping at least 50kg of oranges on my doorstep. Twelve liters of juice later the juice had been given to friends and I was processing the peel. However, if you do fresh juice at home, or more particularly in a restaurant whi wouldn’t you want to do something this easy with the rind?
If you don’t have access to a cool room this is something that needs to be made in winter or it will start to ferment.
Pictured left the finished arancia.
Posted June 22, 2019…updated July 8, 2019 with final drying times and finished picture
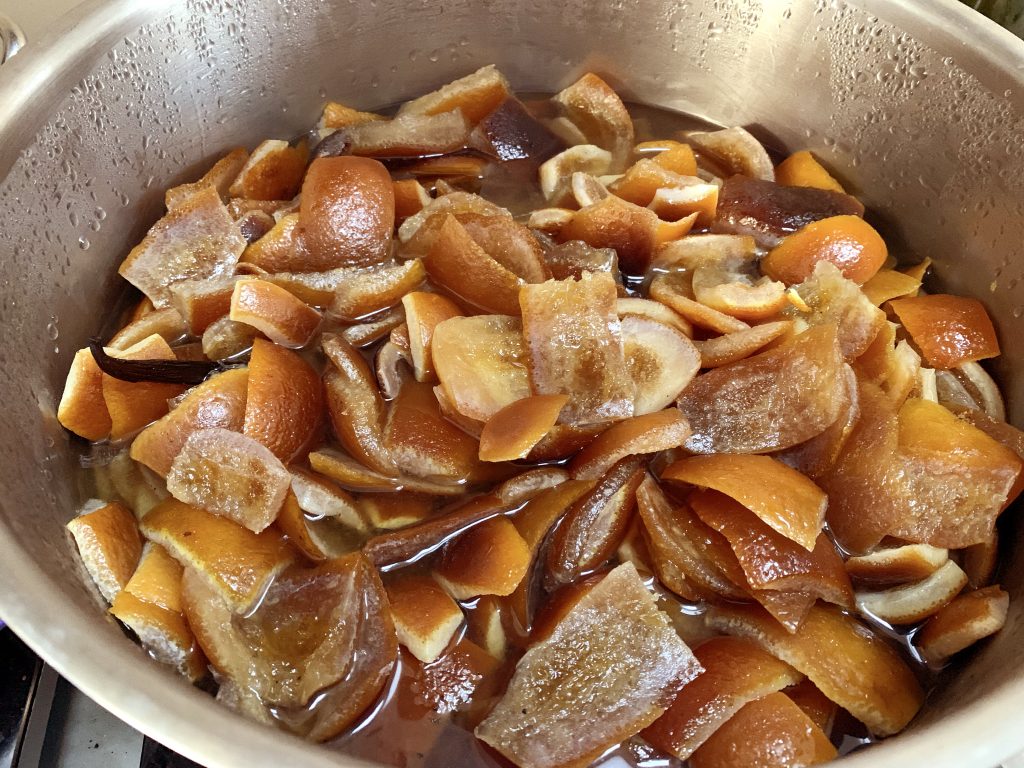

Day one cooking process
Stir over and place on heat 1000W 100°C for 30 minutes…..drop to 800W 80°C for 2 hours stirring a couple of times
Day two cooking process
Stir over and place on heat 1000W 100°C for 30 minutes…..drop to 800W 80°C for 2 hours stirring a couple of timesAdd another 28% of the initial peel weight caster sugar and stir through.
Place on heat 800W 80°C for 3 hours stirring a couple of times. Allow to cool Place back on the heat 800W 80°C for 90minutes….. stir a few times
Day three cooking process
Place back on the heat 800W 80°C for 2 hours….. stir a few times
Allow to cool completely
Place back on the heat 800W 80°C for 2 hours….. stir a few times
Day four
Making sure that you reserve the syrup drain the peel and allow it to drain for several hours even better over night.
Day five
Using food service gloves pack the rind into a dehydrator and dry for about 3 hours @ 70°C…common sense is required it should not be too dry. If you are using a dehydrator swap the trays around a couple of times to keep it even it fou are using an oven pack the rind onto racks.
When completely cooled and using food service gloves press into caster sugar and either vac or tightly pack into take-aways that have been sterilised in a microwave. Or….
Because we have made a large amount we have only coated a small amount and have it stored in a container with a silica gel pack. The rest has been lightly vacced and will be sugar coated as it is used.
Use
- Dip half of the peel piece into tempered dark chocolate [unsweetened is best…Valrohna if you can afford it…Haigh’s dark coverture is great, Callebaut K811 is also good!
- Buns, cakes and puddings, chop and use…if your recipe says mixed peel maybe just drop the sugar back slightly.